Here's a box of goodies I received from DoCrafts last Friday 19th for my demo on Saturday 27th. As you can see, I've not had an awful lot of time to prep my samples but sometimes a bit of pressure brings out the creativity in us. Contained in the box is new Gorjuss stamps, Gorjuss washii tape, three new Xcut dies - one a set of numbers, some Anita's decoupage and an Ultimate A4 Paper pack - this time the theme is Metallics. This is how those products look when they come in - all shiny and new, ready to inspire card making, scrapbooking, any creative way that appeals basically. Stay tuned for product samples to follow...
Thanks for popping by,
Jak x
You will need... paper, scissors, glue and an insatiable urge to do something creative. Don't worry about the ironing - it's not going anywhere...
Sunday, 28 May 2017
Sunday, 14 May 2017
Something Gorjuss for Sunday...
...Hi, how have you all been? This week I've been trying out folded cards which I'll be blogging about shortly - they are something I'm not particularly familiar with but I like to have a wee challenge from time to time ... Today I'm dedicating my Sunday post to cards made with Santoro's Gorjuss range from DoCrafts. I know she's not everyone's "cup of tea" – some people feel she's a bit dark/gothic looking but she doesn't have to be, especially when you can stamp her and colour her up any way you like. Why not give her pink hair and bright clothes (Ooooh, I want to try this now I've mentioned it!!!!)?
So lets have a look at these cards...
#notgothic! This card looks like there is a lot of work in it but to be honest, the most time consuming aspect of it is the decoupaged focal point. There's quite a few sheets of this kind of stuff in the A4 Ultimate paper pack but if you like your cards quick and simple then there's this selfie card...
Pretty straight forward - most time being spent on colouring up the stamped image on the photo frame.
Here she is in less gothic colours:-
A really quick gift bag!
Ok so this one is a bit gothic, even with blue hair and dress...
So lets have a look at these cards...
Pretty straight forward - most time being spent on colouring up the stamped image on the photo frame.
Here she is in less gothic colours:-
The marble effect background has been hand painted and I've used an embossing folder to add a bit of texture to a piece of vellum from the Gorjuss 6x6 paper pack.
This pop up card was the first one I'd ever made and yep, it took quite a while to do but the finished result has the wow factor don't you think?
So, if you have come across my little blog before and seen a few of these makes in the past, apologies if you're disappointed to see them again but I wanted a post where all my Gorjuss makes could all come together. My next DoCrafts demonstration is on May 27th at The Range, Dundee - where I'll be making cards and projects with new DoCrafts products - one of which is a new version of Gorjuss. This time she's all ready for summer which means a brighter, less gothic palette and also the new stamps mean again you can colour her any way you like...
Stay tuned for all that soon!
Happy crafting everyone,
Jak x
Sunday, 7 May 2017
Latest scrapbook layout...
...is here for your perusal! I wanted to try a more muted version of my usual style but still have everything going on with embellishments and texture. This was quite a difficult one for me as I had to reign myself in a bit, resulting in the LO kind of lying about on the craft table whilst I tried to feel where I was going with it. I used pale acrylics in the background and spritzed with a gold/black Artiste Spritz Ink by DoCrafts. I cut a panel of square windows on my Silhouette and backfilled some of the spaces with papers and vellums from the DoCrafts Geometric Mocha range. I glittered the "Lovely" wooden sentiment and gave it a thick layer of Anita's 3D Clear Gloss Finish to seal the glitter. I've stamped and heat embossed some Geometric stamps with copper embossing powder then raised these elements with foam pads for a bit of dimension. There's a bit of stamping in corners and finally a sprinkle of pewter coloured sequins to catch the eye. I'm pleased with the finished page although it did take a bit longer for me to complete than anticipated. Oh and BTW - copper embossing powder is My Favourite Thing at the moment!
Thanks for coming by for a look,
Happy crafting!
Jak xxx
Sunday, 9 April 2017
More cluster cards...
Sunday, 2 April 2017
Using those embellishment clusters....
Hello, this beautiful sunny Sunday!
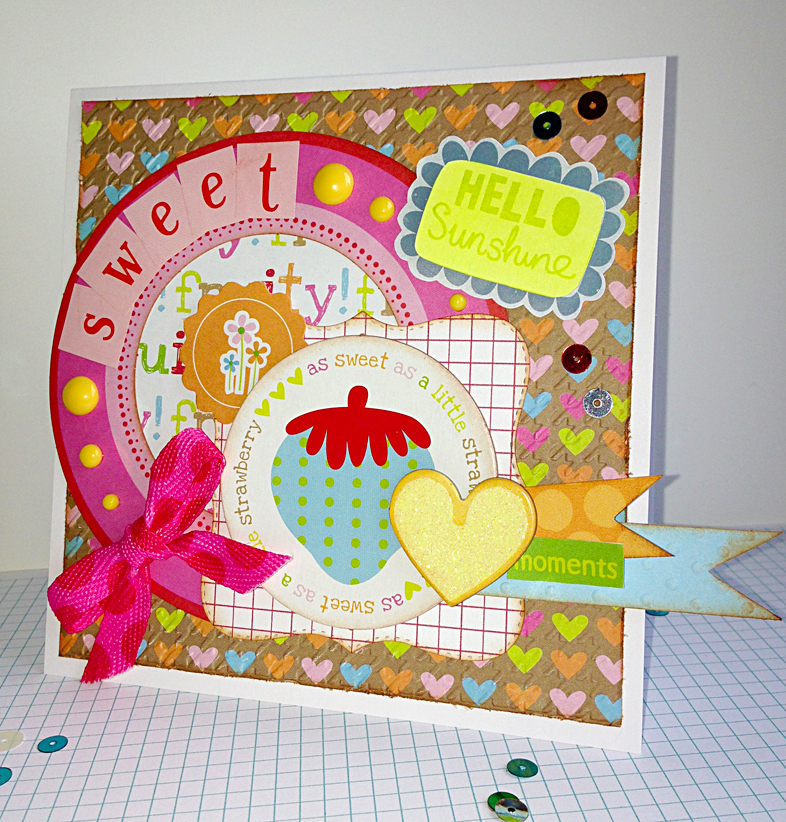
Thanks for popping by! Here are some cards I've made with my home-made embellishment clusters. I really love doing this and find it seems to cut down on time I spend faffing about with my cards. It's great because the focal point is already made and usually with a sentiment built in too. All I need to do is pick a size and some background papers and I'm off. So, without further ado, here's some I made earlier...
![]() |
| A wee bit of stitching, a few sequins and a sentiment of wooden letters from DoCrafts bare basics. |
![]() |
| My favourite little cloud stamp and more red graph paper added on this card |
![]() |
| Hello Sunshine stamp coloured with Pan Pastels as an extra sentiment |
Truthfully, the only extras that weren't kicking about the leftover stash I used here were some extra bits of graph paper I designed (so simple!) and printed out, and two separate tiny bits of stamping. They were really quick to put together.
Now, these are really bright and colourful, cheerful cards and possibly not to everyone's taste. My choice to go with this colourway was because I had a really old kit gathering dust on the shelves of Crafty Mission Control and it was easier to start this project with patterns and colours that I knew would work together, just as a starting point as I'd never tried this out before. I love the results and have moved on to a more freestyle approach with all sorts of leftovers - but that's for another post! One tip I will mention tho is - when die cutting for specific projects, use up your smaller scraps by die cutting out lots of smaller shapes in various sizes and designs. Store them in clear bags or mini clear boxes/tubs. You'll be surprised how quickly you accumulate these pieces and they are handy and ready to roll next time you want to make some clusters. Stay tuned for another post this week. I'm making a couple of Gorjuss cards...
Have a lovely weekend all,
Love,
CraftyJak xxx
Thursday, 23 March 2017
Embellishment clusters...
Hello there!
In-between doing my demos for DoCrafts, I like to spend my crafty time trying out new techniques and generally having a crafty potter around my stash, and recently it occurred to me that my clustering skills were definitely lacking. Not being one to let that go, I decided I should maybe try and master this. It's something I've admired amongst my crafty colleagues work for a long time and I've often wondered what kind of witchcraft they use when putting these beautiful eye-catching elements together and thankfully when grilled about how it all happens, they were really helpful and forthcoming with lots of tips. Naturally, everyone does it differently and has various ways of putting these together but the best tip I picked up was a visual one from a Youtube video - I am a visual learner after all. I watched lots of vids and what I got from that was that a lot of paper shuffling goes on and the ones I like look a bit well, messy! So taking the bull by the horns I started easy with an old kit from years ago that I still had tons of (do these kits ever end?). I felt it would make life simpler as all the elements are designed to compliment and coordinate with each other. I really had fun doing this and it all just seemed to click once I stopped overanalysing everything. I did print off a few extra bits and pieces to help out - a couple of graph paper backgrounds and I also did a bit of diecutting so I could use different shapes of patterned papers too. Here are some of my results...
These were made from an ages old Colorbok kit from QVC and although I wouldn't use them for scrapbooking now as my kids are a bit old for this kind of design now I still love the bright happy colours. The clusters all finished up a really decent size too so next post is about the cards I made with them!
Stay tuned for some bright and bold cards
Thanks for looking,
Jak xxx
Friday, 17 March 2017
Cards from March at The Range...
All of the above are cards made with some of the new Xcut dies. I'll not deny, they are very intricate but if you use my tip from my previous post, you'll be cutting them out completely hassle free - even more so if you remember to give them a wipe over first with a tumble drier sheet, that way all the waste just falls out with a few taps!
Next up are 3 cards from the Paws For Thought range. These are cute beyond belief and really appeal to me because they are so colourful. They're a great start for a newbie crafter as they can be made quickly and without too much embellishing. However, if you should so wish to go completely over the top and go all out kitsch (who, me? - never!!!!) you can really go for it as you can see in the pop up box card below!
![]() |
| Never one to overdo anything... |
See what I mean - beautifully bonkers!
And so on to Wood Elements Capsule range. I used the A4 paper and die cuts pack which is stuffed full of alphas, vellums, bows etc...
These two cards are BIG 8x8s - a size I don't normally indulge in but big cards do give you a bit more scope for embellishing. This colours in this pack are very muted so I added some pale pink and blue to the Best Wishes card to liven things up a bit.
Here's a new card format - for me anyway - which I tried out for the first time too. It's a slider card which when you pull the tag out, reveals the message inside. Kind of simple but effective.
Ok, so that's us done for today. I hope you like something in this selection of samples.
Thanks for popping by.
Have a crafty weekend everyone,
Jak xxx
Subscribe to:
Posts (Atom)